Skip to content

Shopify integration guide

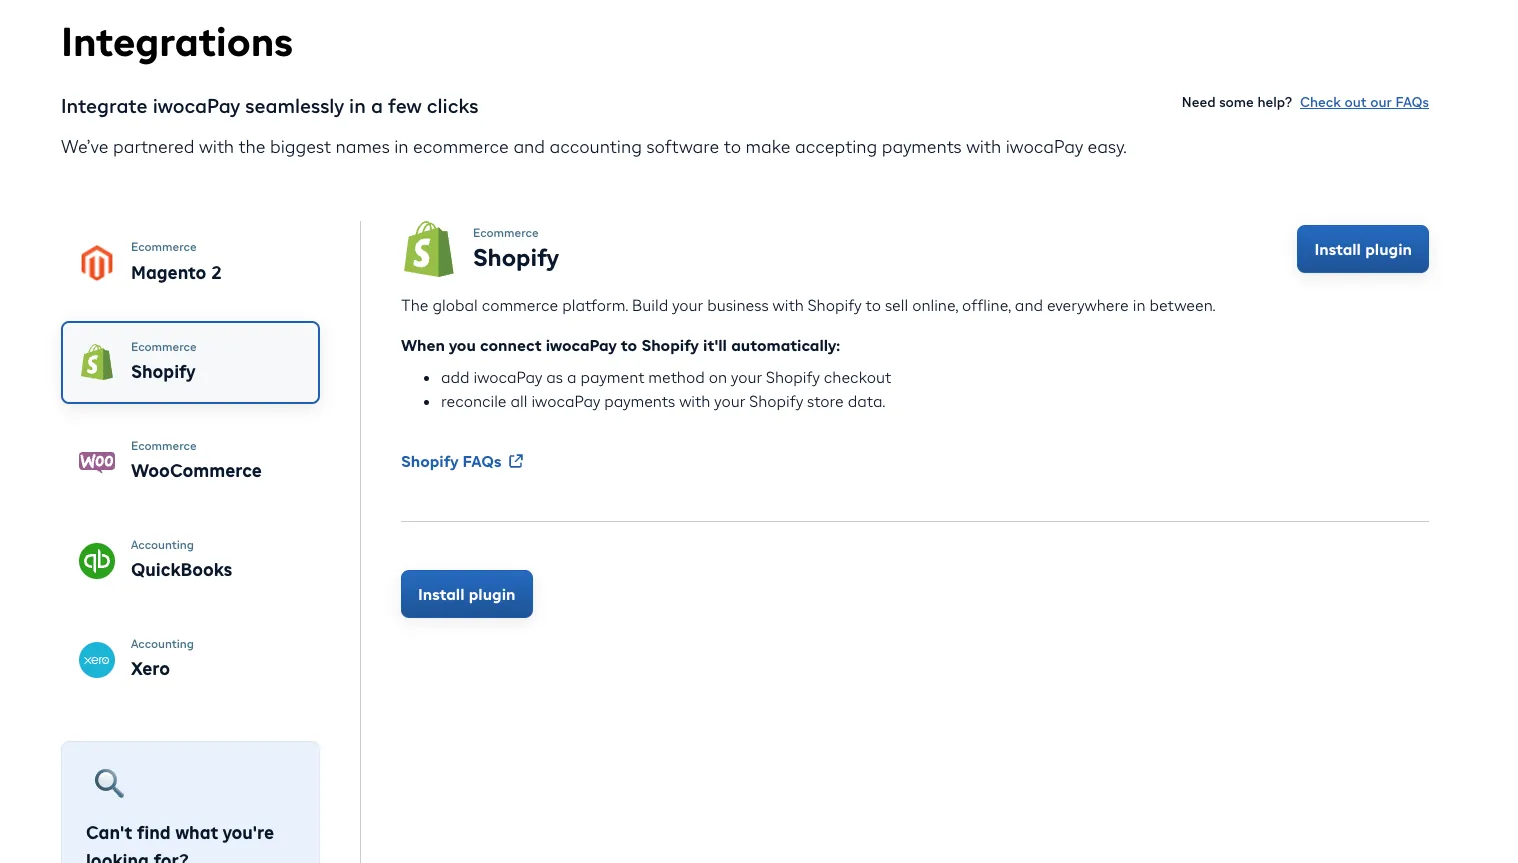
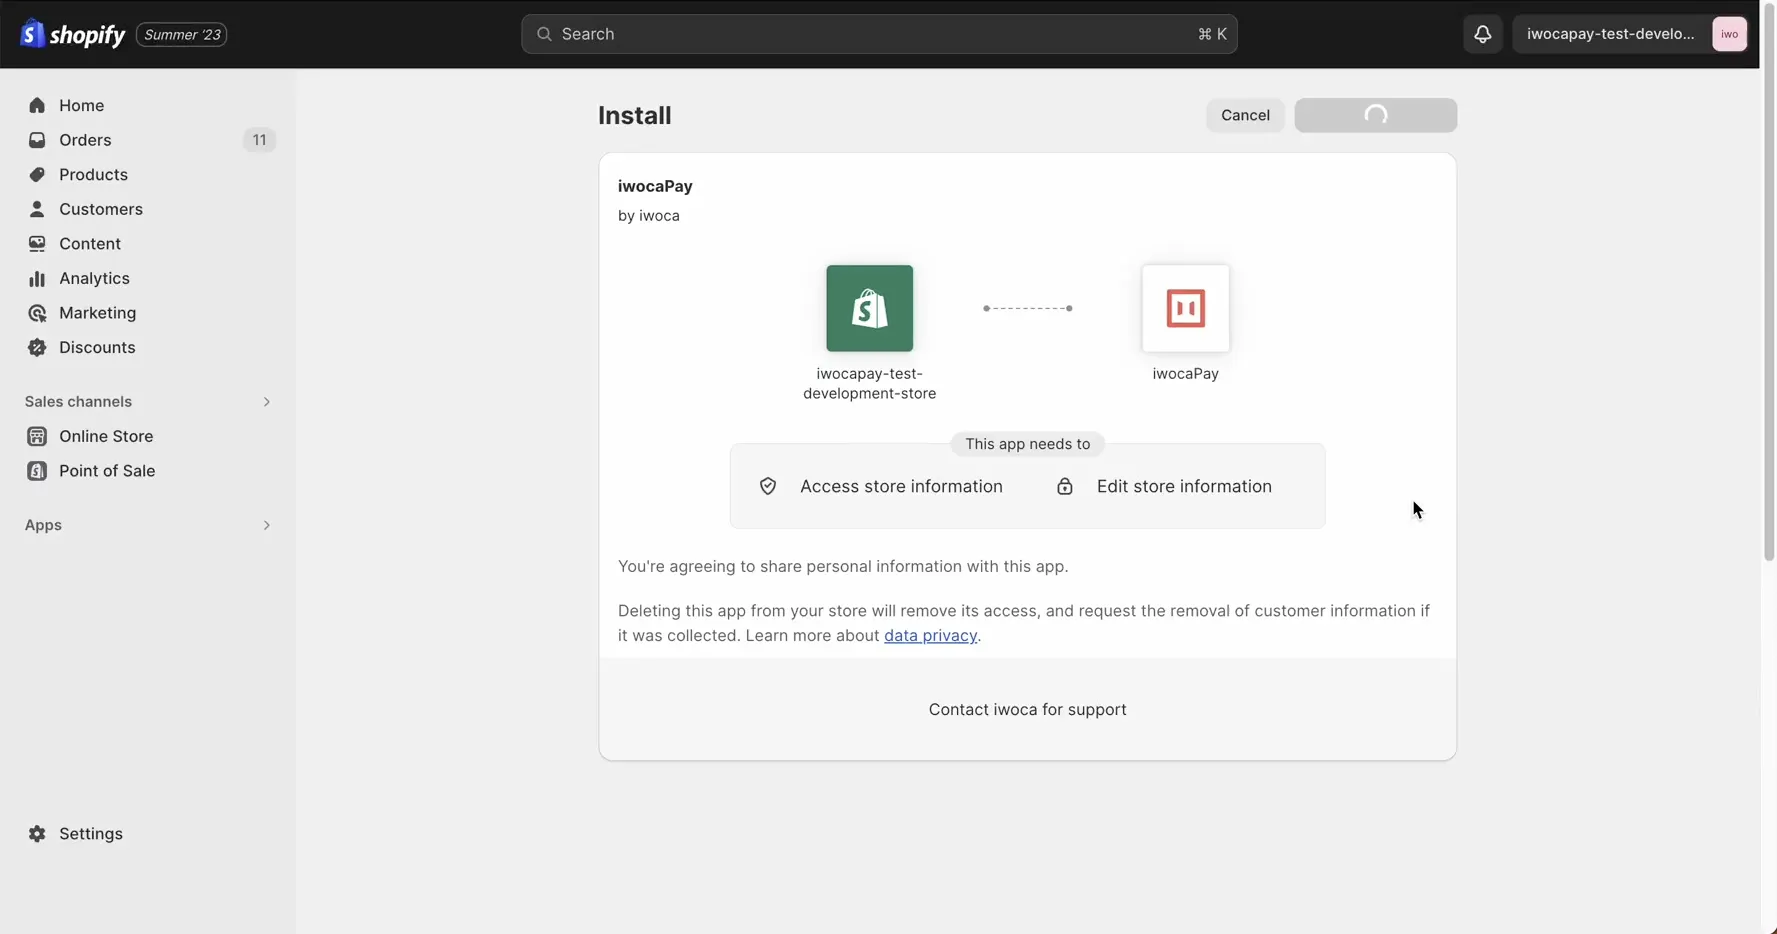
After you’ve installed and activated the iwocaPay app, it will integrate seamlessly as a payment option in your Shopify store. Payments made through iwocaPay will automatically reconcile with your store data, streamlining your business operations.

With a few clicks, you can offer Buy Now, Pay Later to your customers. If you’re using Shopify 2, you also can automatically enhance your store with marketing banners, making it easy to inform customers about flexible payment options.


Before You Begin

These notes will help the process go smoothly.

Time and skill

Installing the iwocaPay app on Shopify typically takes just a few minutes. No technical expertise or developer assistance is required.

Supported versions

The iwocaPay app is compatible with all Shopify plans and stores running the latest version of Shopify.

Prerequisites
  • You’ll need admin access to your Shopify store.
Choose your pricing structure

With iwocaPay, you decide who covers the cost of Pay Later transactions.

You can manage your pricing preferences from your Universal pay link in the iwocaPay dashboard.


Key details about iwocaPay on Shopify

Unified Pay in 3 and Pay in 12 options

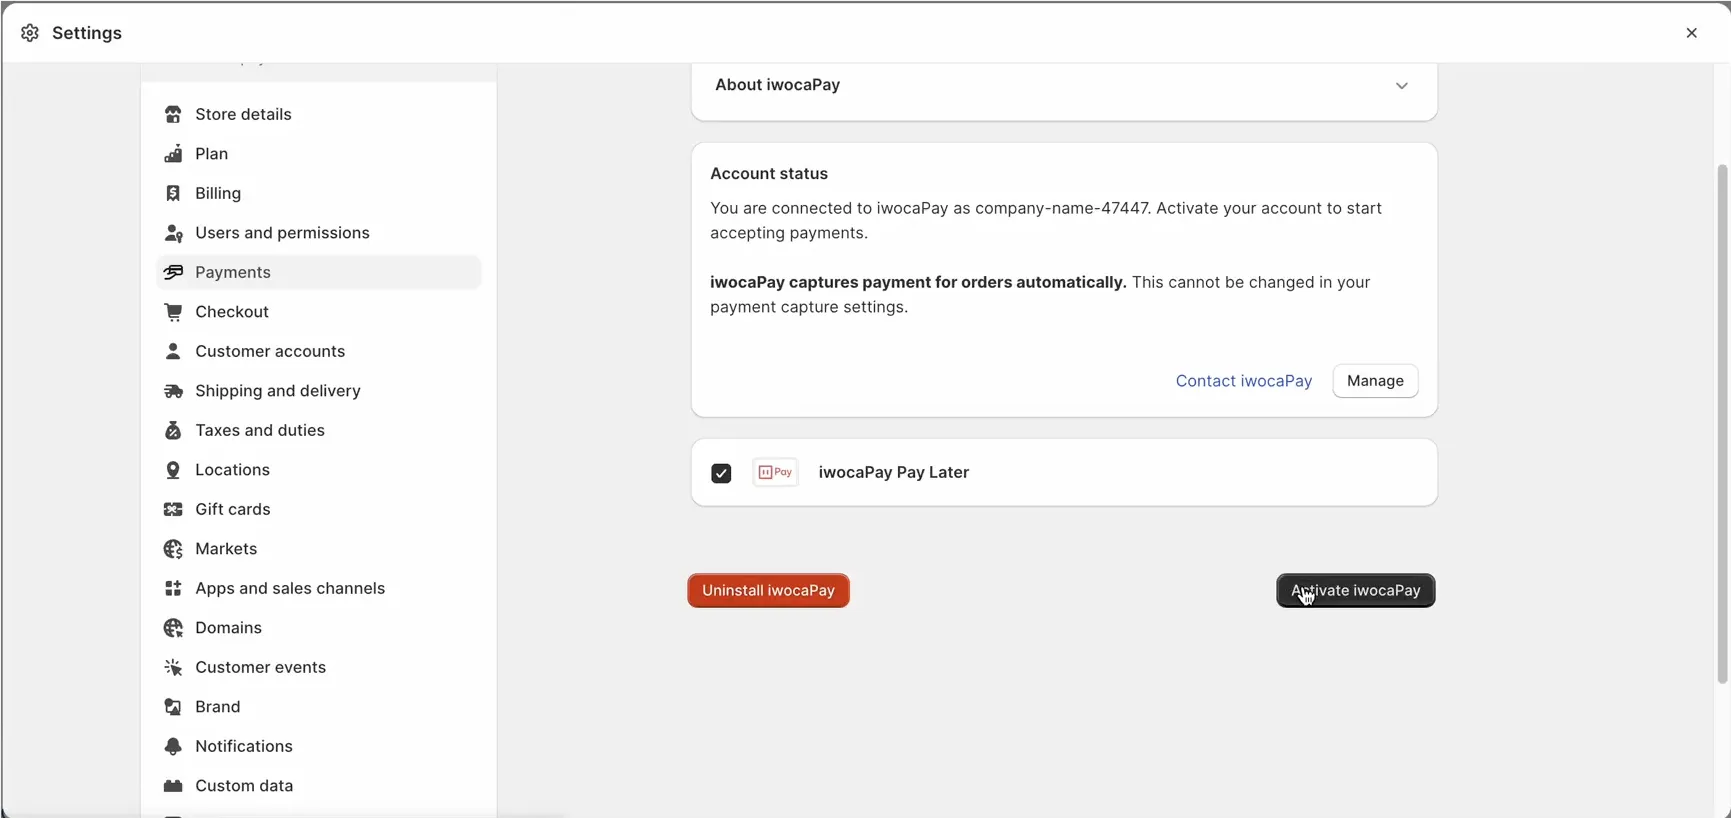
If you offer Pay in 12, it will appear alongside Pay in 3 as a single iwocaPay option at checkout. While they cannot be displayed separately, you can still set different pricing for each option in your iwocaPay dashboard. Find out more about Pay Later pricing structure on the concepts page.

No Pay Now option

Shopify already supports several upfront payment methods, so iwocaPay’s Pay Now option is not available. However, this should not limit your customers’ payment options.

How to install iwocaPay on Shopify

  1. Log in to your iwocaPay dashboard and go to the Integrations page. The Integrations page on the Seller dashboard

  2. Select Shopify from the left-hand menu and click Install Plugin. You’ll be redirected to Shopify to connect and install the app.

    Shopify dashboard

  3. Click Connect.

  4. Click Install.

  5. Finally, click Activate iwocaPay, and you’re all set!

    Shopify dashboard

Automatically add marketing banners to your Shopify store

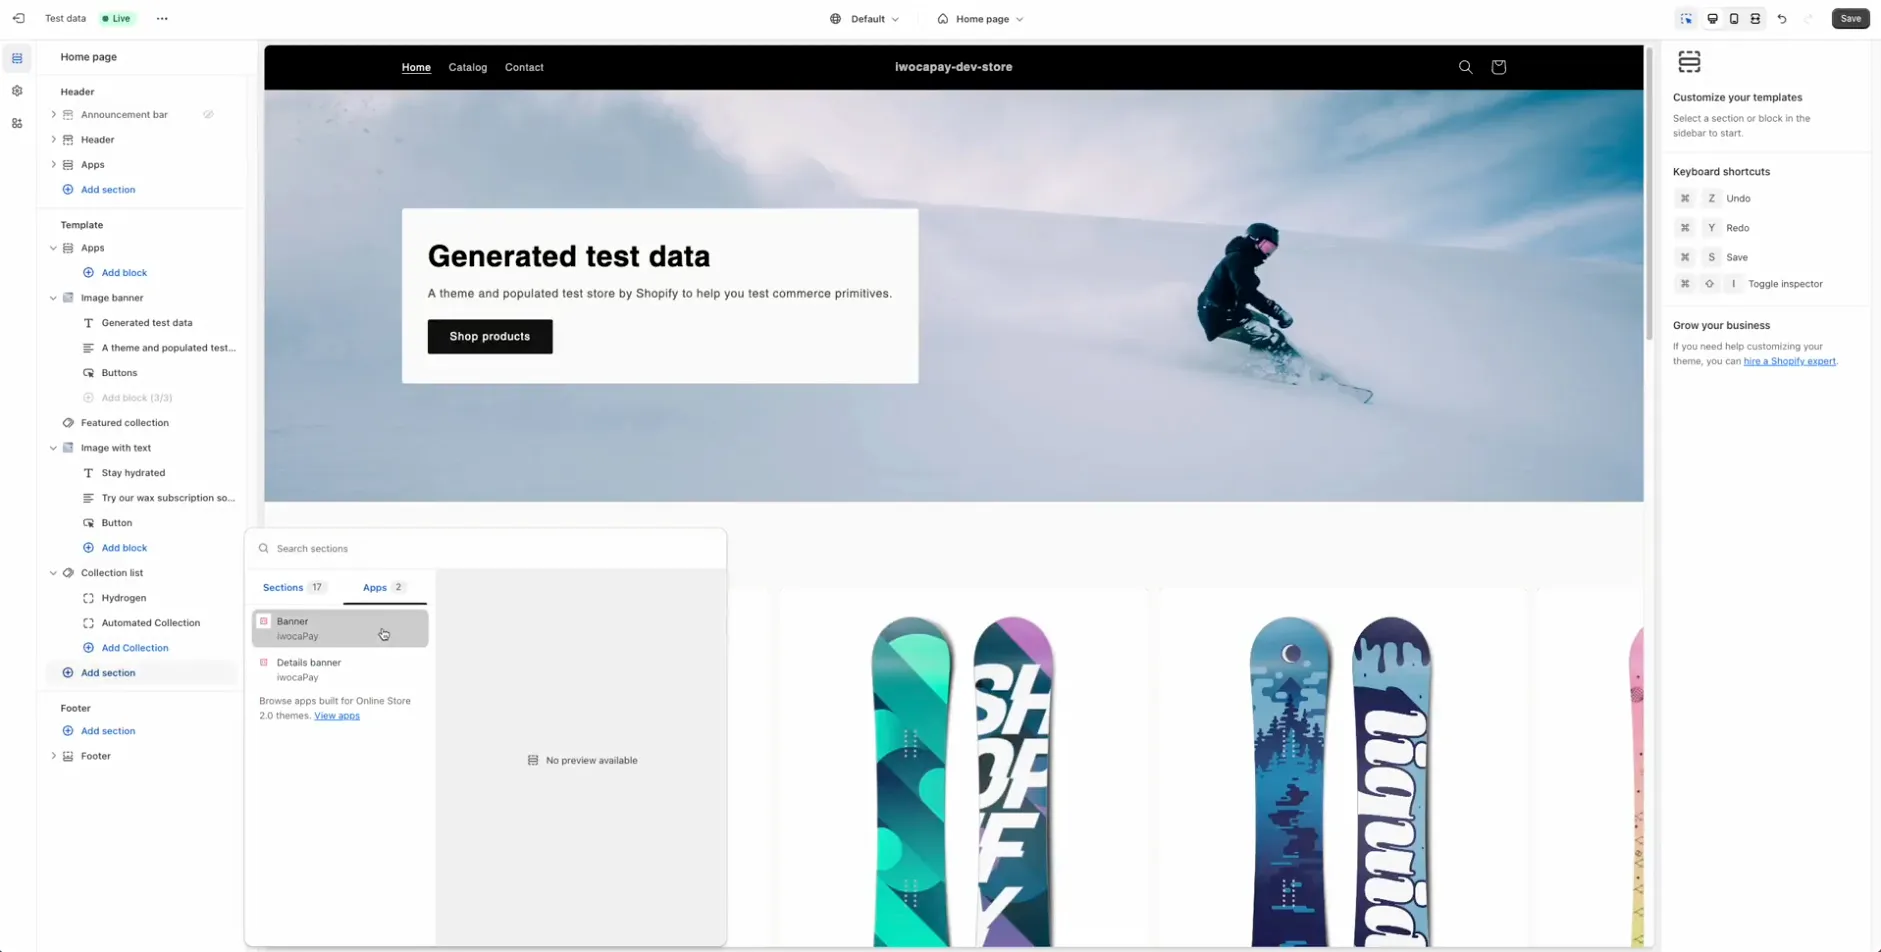
For Shopify 2.0 users, adding banners to your store is a simple way to inform customers about flexible payment options before they reach the checkout, helping increase order values.

  1. Log in to your Shopify admin dashboard.
  2. Go to Online Store > Themes.
  3. Select the page where you’d like to add a banner (such as your Home Page).
  4. Click Add Section.
  5. Go to Apps.
  6. Choose one of the available iwocaPay banners and drag it to your desired location. Shopify marketing banners
  7. Click Save to apply the changes.

Updating iwocaPay

The iwocaPay app updates automatically, so you’ll always have access to the latest features and improvements. No manual action is required.

Removing iwocaPay

If you decide to stop using iwocaPay, you can easily remove it from your store:

  1. Go to the Integrations page in your iwocaPay dashboard.
  2. Choose Shopify from the left-hand menu and click Manage on Shopify You’ll be redirected to Shopify.
  3. Click Deactivate iwocaPay.

Reinstalling iwocaPay is simple if you choose to use it again. Follow the installation steps above.