Skip to content

QuickBooks integration guide

After your QuickBooks account is linked to iwocaPay, you can automatically include an iwocaPay pay link the bottom of new Quickbooks invoices and reconcile all iwocaPay payments.

Because iwocaPay is added as a pay link at the bottom of the invoice, it doesn’t impact other payment methods accessed by clicking the Review and Pay button.


Before You Begin

These notes will help the process go smoothly.

Time and skill

Connecting iwocaPay with QuickBooks is a straightforward process that takes just a few minutes. No technical expertise is required.

Supported versions

iwocaPay integrates with all QuickBooks versions. Whether you’re using QuickBooks Online or another variant, the integration will work seamlessly.

Prerequisites

  • A QuickBooks account: Make sure your QuickBooks account is set up and ready for integration.
  • Sign in to your iwocaPay dashboard: You’ll need access to your iwocaPay dashboard to connect the two accounts.
Choose your pricing structure

With iwocaPay, you decide who covers the cost of Pay Later transactions.

You can manage your pricing preferences from your Universal pay link in the iwocaPay dashboard.


Connecting your iwocaPay account to your QuickBooks account

It’s pretty simple to connect iwocaPay to your QuickBooks account.

  1. Go to your iwocaPay dashboard and click the Integrations button in the top right.
  2. Go to the QuickBooks page and click the Connect button.

That’s it!

After you’ve linked iwocaPay to QuickBooks, it adds an iwocaPay pay link to the bottom of your invoices, giving your customers the option to pay with iwocaPay. You don’t need to do anything else.

To get the most out of iwocaPay, we recommend adding a note to the email sent with your invoice.

Here are a couple of samples we made for you to copy and paste — or, use them as a jumping-off point to write a custom message:

“We’re now taking payments through iwocaPay. Just click the pay link below to pay via instant bank transfer.”

Or

“We’re now offering a Buy Now Pay Later option using iwocaPay. Just click the pay link below to pay in three or twelve monthly instalments — your first payment will be taken 30 days after you check out.”

How to disconnect your QuickBooks account

Disconnect your QuickBooks and iwocaPay accounts from the Integrations page in your iwocaPay dashboard.

  1. Go to the QuickBooks app and click the Configure plugin button in the top right.
  2. Scroll to the bottom and click I’d like to un-link QuickBooks.

After you disconnect, it will remove iwocaPay as a payment option from all your invoices — even ones you’ve already sent.

Sometimes this happens when you submit an invoice too quickly on the final page in QuickBooks. To avoid it, we recommend that you wait 5–10 seconds on the final page before you submit the invoice.

If the invoice is sent without the link, here’s how to fix it:

  1. Sign in to your QuickBooks account.

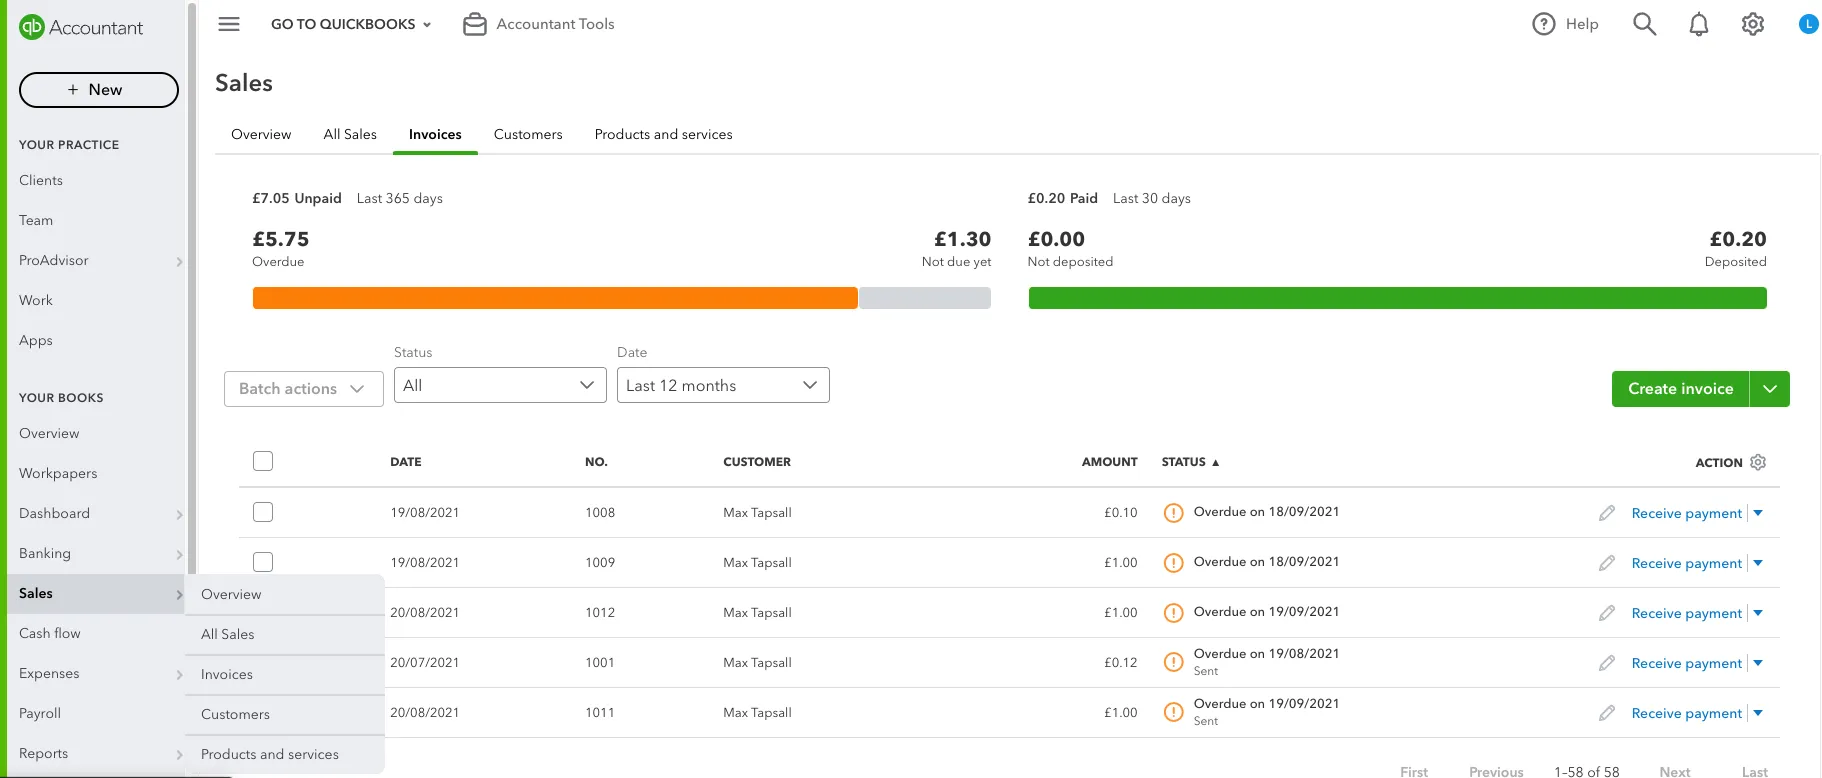
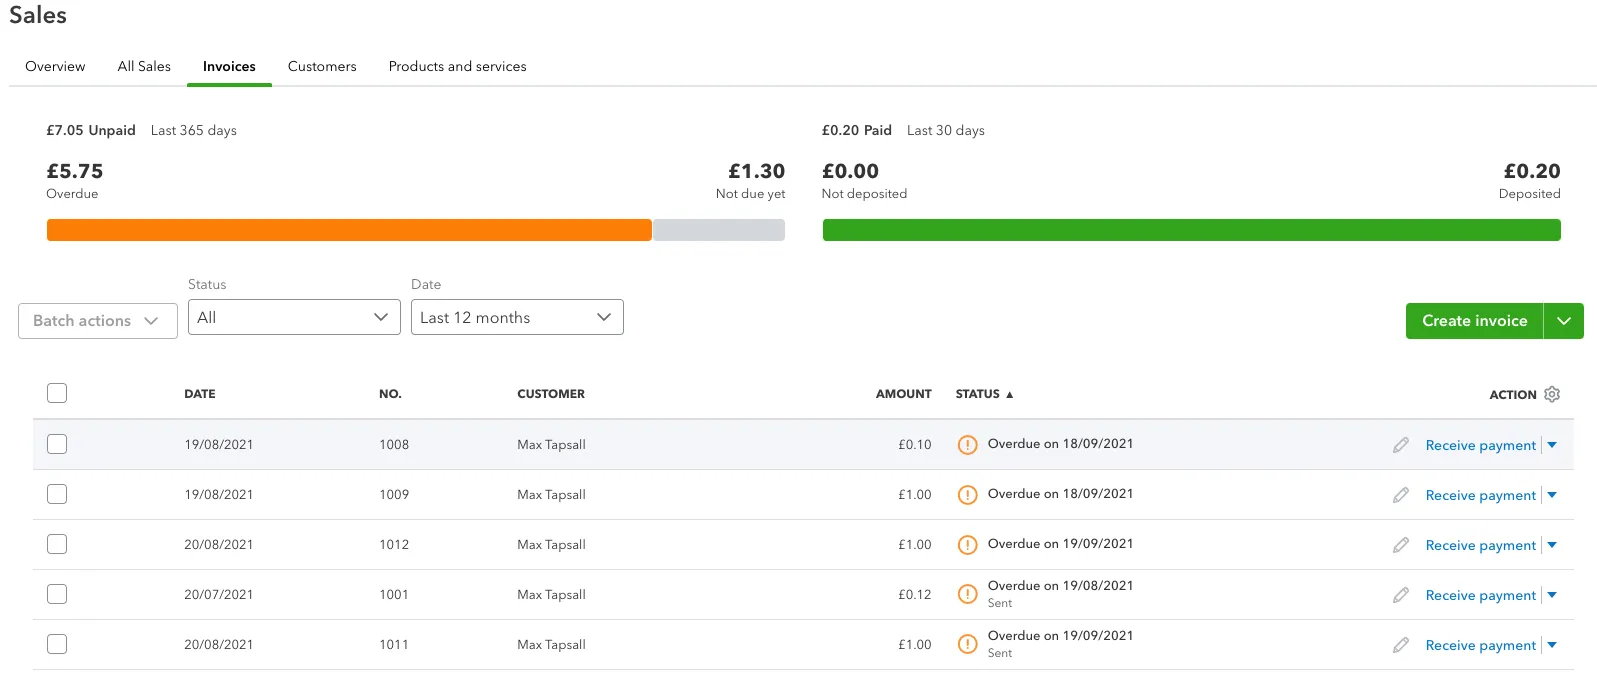
  2. In the navigation bar, go to Sales > Invoices.

    A screenshot of the Quickbooks dashboard

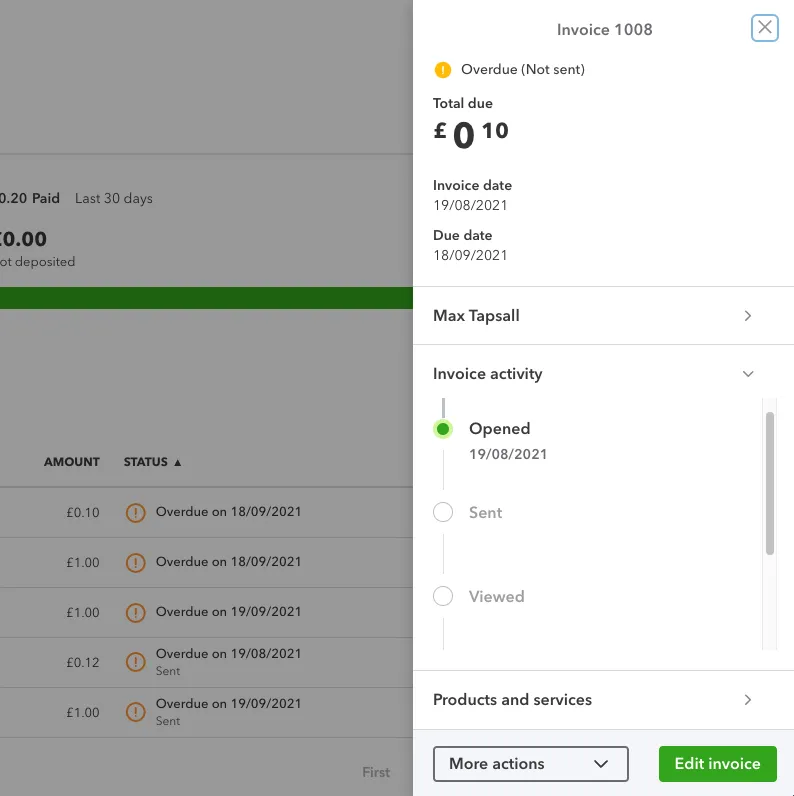
  3. Click the invoice that you created.

    A screenshot of the Quickbooks dashboard

  4. Click Edit invoice.

    A screenshot of the Quickbooks dashboard

  5. The invoice will take a second to update, and the iwocaPay pay link will automatically generate in the Message on invoice box.

  6. Click Save and resend and the email will be resent with the pay link.